

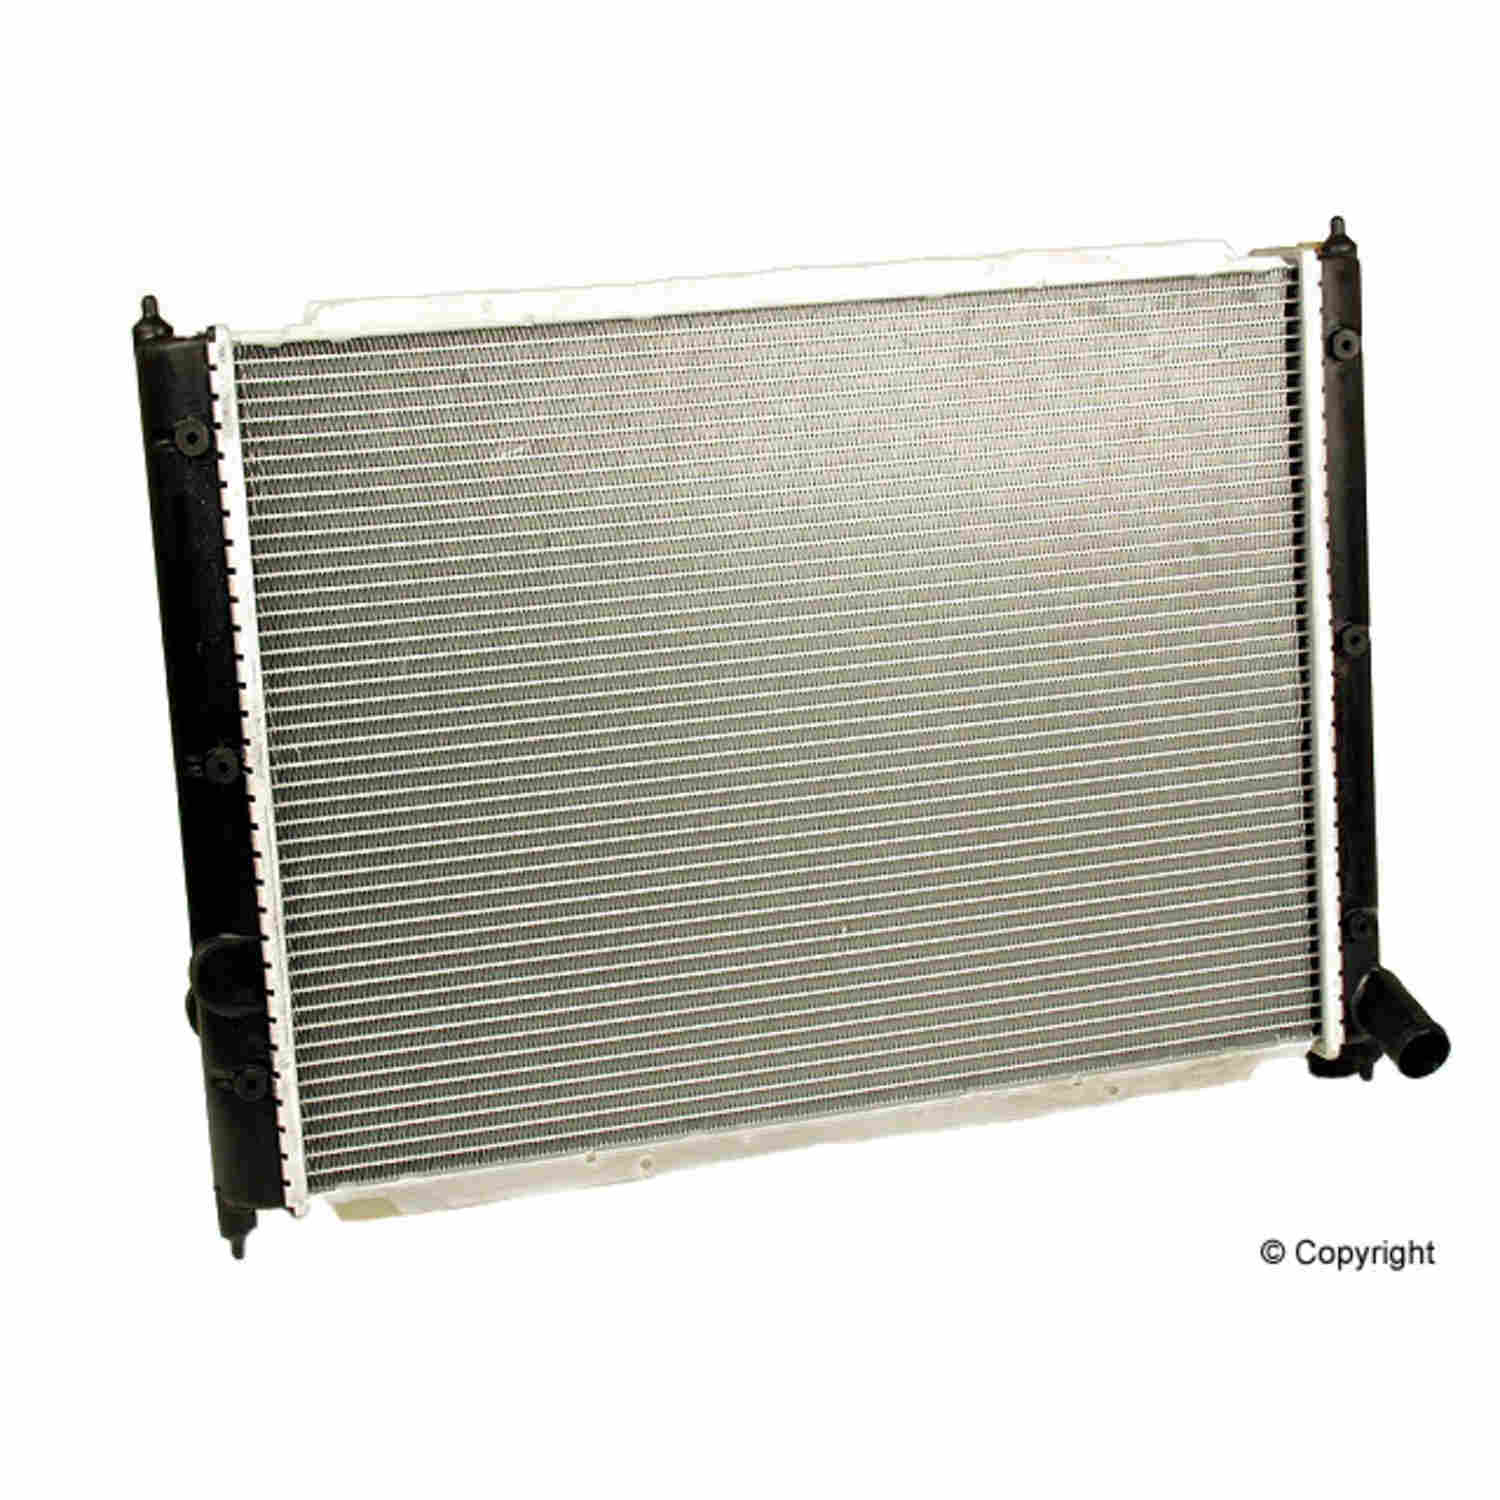
Please support us with your purchases. Here is a link to purchase your radiator from us:
https://www.vanagain.com/shop/vanagon-radiator
Instructions:
Unhook the negative terminal on your battery.
Put the van up on ramps in the front.
You will have to remove the spare tire carrier.
The spare tire carrier is removed by pulling two small C-clips back at the hinge area of the tire carrier. Once they are removed you can pull/tap/pry the large metal wire like twisty part of the spare tire carrier out of both sides of the large metal clam shell, until the clam shell drops down. Move that out of the way, and then twist the long metal twisty retainers around until they are upside down. This will allow you to unhook them from the holes in the frame behind the front bumper and they will come completely out.
Remove the two hoses going to the radiator. I usually do this at the end that is on the pipe since that will allow things to drain in the neatest fashion. Note which hose goes to which pipe if you are unhooking the hoses at the pipes. I would mark them or take a picture before you take these loose to be sure you know which hose goes to which pipe.
Once the hoses are removed Inspect the ends of the pipes and if you see some cracking in the plastic it might be a good time to install new stainless coolant pipes in place of the old cracked up plastic ones. They will fail and pop apart on the end if they are cracked up and it is like a human getting stabbed in the neck. It takes about 30 seconds for all of your coolant to bleed out all over the road and your motor to fry. Not worth taking a chance on in my opinion. You can find the new stainless long coolant pipes in our web store.
Unhook the wiring to the fan on the rear.
Remove the lower grille and unplug the fan switch and remove this a well (lower driver‘s side corner).
Next you want to trace the AC hoses back about two feet from the condenser and remove all of the clamps that hold the lines to the body.
Now you should be able to drop the radiator, fan shroud and condenser straight down and then tilt it back so the condenser is face down on the ground (have something soft to sit it on).
Remove the fan shroud (10mm head bolts) and set it to the side.
There are two phillips head screws on the top of the condenser. Remove them and the radiator hinges away from the condenser. Now you can install your new radiator and put things back together.
PS these instructions are very similar for the earlier 83-85 Vanagon except the AC condenser is different and the radiator fan wiring is different. The radiator fan wiring just unplugs so that is actually easier. I think you can unhook the condenser from the radiator from the front and then leave the condenser in place. You may or may not have to unhook the AC hoses from the condenser for the radiator to come out. If you have an early Vanagon with no AC you don’t have to worry about this stuff at all.
Copyright 2015 Ken Wilford
Comments
No comments yet. Be the first to share your thoughts!